Installation
Overview
This guide provides instructions for installing Juno Cassandra Desktop and registering your user account. Before starting this process, you should be familiar with the structure of the Cassandra license as outlined on this page and have discussed with Lonrix the network(s) for which you require licenses etc. Basically - all commercial issues should be settled before you start the installation process.
We also recommend that you discuss the planned installation with your IT department before starting the installation process. A complete guidance document for IT departments is provided on this page. Please refer your IT department to this page to ensure that the necessary permissions for the application are in place before you start the installation process.
Download and Install
We recommend that you work with your IT department during the installation process.
Follow these steps:
Install .NET Core 9.0 from the Microsoft site if you have not already done so.
Use the link that Lonrix will provide for you in an email to download the zip file containing the program files.
Extract the zip file contents to a folder on your computer. Note where this folder is so that you can install future updates into the same folder, or into a sibling subfolder in the same parent folder.
Create a shortcut to the executable file ‘juno_cassandra_desktop.exe’.
Get Computer Identifier
Run Juno Cassandra by clicking on the shortcut you created in Step 4 above.
Read the End User Licence Agreement (EULA) and continue if you accept the license conditions.
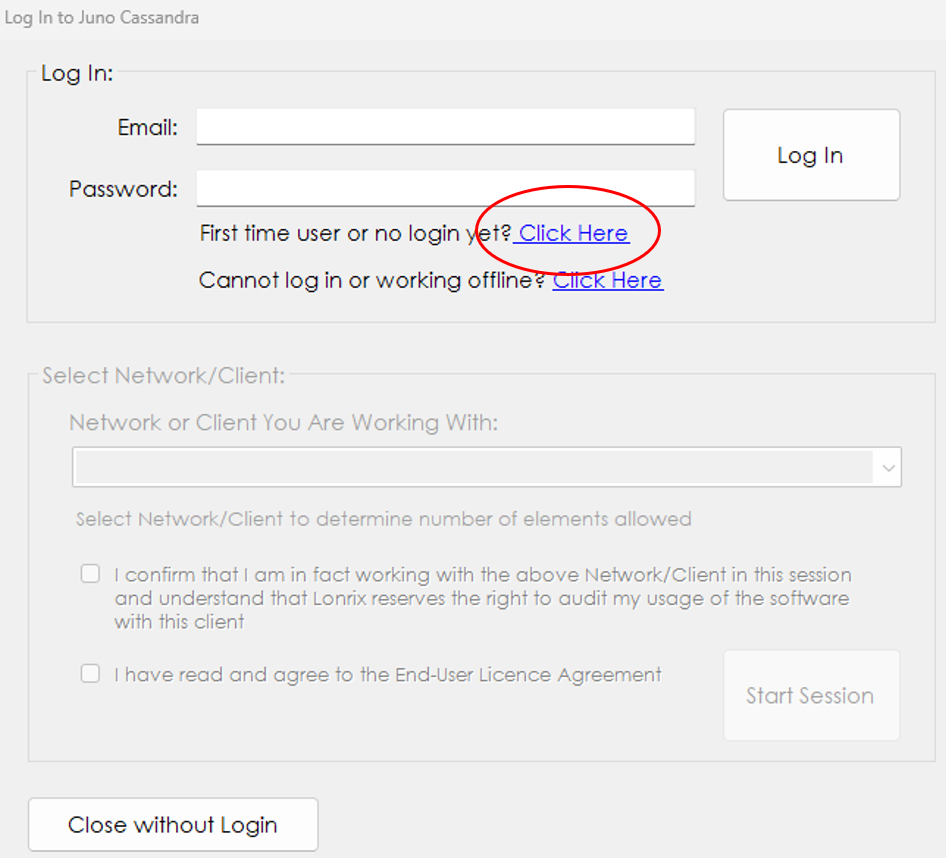
You should see the login form as shown below. Click on the link next to ‘First time user or no login yet?’:
- Copy your unique computer identifier to the clipboard using the button as shown below:
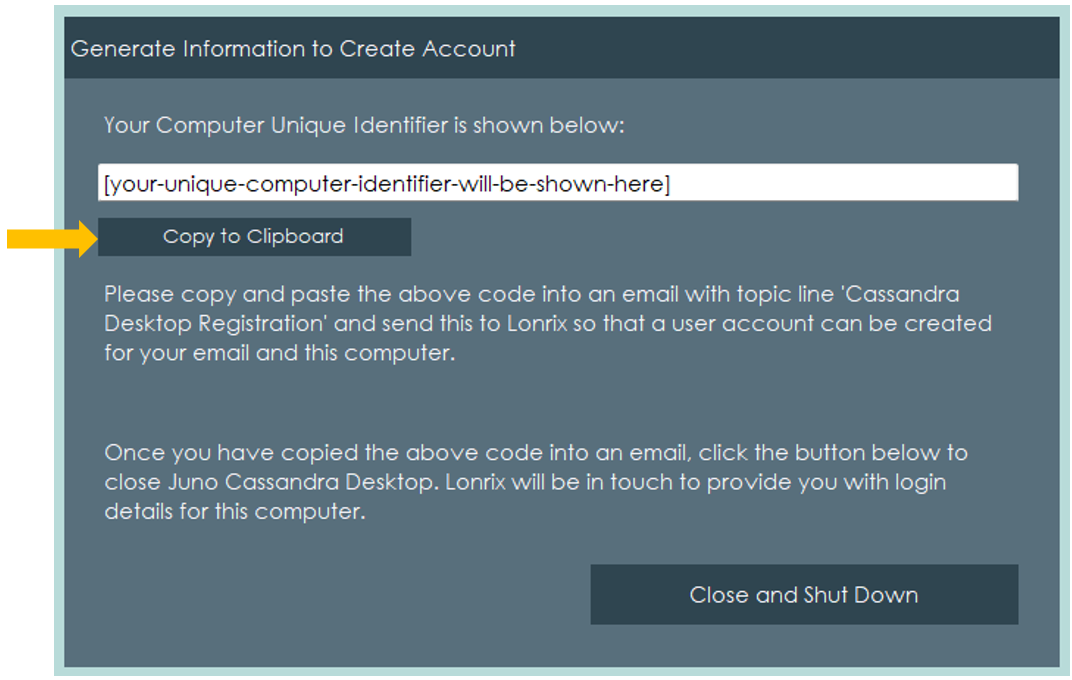
Close Cassandra by clicking on the “Close and Shut Down” button.
Paste the Unique Computer identifier into an email and send to Lonnrix.
As noted at the start of this page - by this time, you will have arranged with Lonrix which networks you require a license for. Please include in your email clear details of these arrangements. In your email, state specifically on different lines:
- Computer Identifier: [paste code copied in step 6 above]
- License to cover:
- Network A (number of elements)
- Network B (number of elements)
Note that your license can be expanded to include more networks at any time provided you have made the necessary commercial arrangements with Lonrix.
Change your Password
Once Lonrix receives your computer identifier, we will create an online account for you in our Juno Model Online Tools Portal. We will provide you with your login credentials and a temporary password.
Change the temporary password assigned to you, first log in to the Juno Model Online Tools Portal using the temporary password. Next, click on your name shown in the toolbar at top right. Select Change Password and change your password to a strong password known only to you.
Test Login on Cassandra Desktop
Run Juno Cassandra. When the login form is shown, enter your email and password and click on the Log In button.
The Network Selection dropdown should be populated with the networks for which you have licenses. Select the network for which you want to run your modelling analyses.
Confirm Network is the true/valid network you are working with as explained in our licensing documentation.
Click on Start Session to start your modelling session.